Just 2 Ingredients: Craft Delicious Diced Green Chiles at Home
Are you tired of constantly reaching for those small, unassuming cans of diced green chiles, only to find you've run out (again!) mid-recipe? Many home cooks become quite dependent on these convenient pantry staples for adding that signature mild, earthy kick to everything from enchiladas and tacos to tortilla soup and casseroles. But what if we told you that the secret to incredibly fresh, flavorful diced green chiles lies just two ingredients away – and a simple, satisfying process you can do right in your own kitchen? Get ready to transform your cooking and discover how easy it is to
make diced green chiles from scratch.
Why Make Your Own Diced Green Chiles? The Freshness Factor
The journey to making your own diced green chiles often begins with a simple realization: the store-bought versions, while convenient, can't hold a candle to the vibrant taste and aroma of freshly prepared peppers. Beyond taste, there's a strong case for taking the DIY approach:
Beyond the Can: Taste, Control, and Savings
- Unmatched Freshness: Canned chiles often have a slightly muted flavor. Homemade versions, especially when made with seasonal peppers, burst with a brighter, more authentic taste that elevates any dish.
- Ingredient Control: When you make your own, you know exactly what goes into them – just peppers and a pinch of salt. No additives, preservatives, or artificial flavors. This is particularly appealing for those mindful of their diet or dealing with specific food sensitivities.
- Cost-Effectiveness: During peak growing season, fresh peppers can be incredibly affordable, especially if you grow them yourself or buy them in bulk from a local farmers' market. The savings accumulate rapidly when you consider how many cans you might otherwise purchase.
- Sustainable Choice: Reducing reliance on single-use cans is a small but impactful step towards a more sustainable kitchen.
The Star Pepper: Anaheim and Its Versatility
If you're aiming to replicate the mild heat and classic flavor profile of typical store-bought diced green chiles, the
Anaheim pepper is your ideal candidate. Named after Anaheim, California, where it was first cultivated, this pepper variety boasts a Scoville Heat Unit (SHU) rating typically ranging from 500 to 2,500. This places it firmly in the mild to medium-mild category, making it perfect for family-friendly dishes.
Many enthusiasts, especially those who grow their own, rave about the "Highlander" variety of Anaheim peppers for its exceptional productivity. Just two Highlander plants can yield an abundance of peppers, potentially setting you up for an entire season's worth of homemade chiles!
While Anaheim peppers are the classic choice, don't feel limited. You can use this same preparation method for other mild-to-medium heat peppers from your garden or local market. Poblano peppers (1,000-2,000 SHU) offer a slightly richer, earthier flavor, while a few roasted jalapeños (2,500-8,000 SHU) could be added to a batch if you desire a spicier kick. The beauty of making your own is the complete control over flavor and heat.
Gather Your Gear: Just Two Ingredients!
One of the most appealing aspects of this recipe is its simplicity. You truly only need two primary ingredients to
make diced green chiles that rival (and surpass!) anything from a can.
Essential Ingredients & Equipment Checklist
- Fresh Green Chiles: Anaheim peppers are highly recommended, but feel free to experiment with other mild varieties like Poblano. For a 4 oz equivalent of diced chiles (the size of a standard small can), you'll need approximately 4-5 medium-sized Anaheim peppers. Consider making a larger batch for freezing!
- Salt: Just a tiny pinch, to taste, for seasoning the finished product.
- Baking Sheet: A standard baking pan will do.
- Parchment Paper: Crucial for preventing sticking and easy cleanup during roasting.
- Sharp Knife: For prepping and dicing.
- Cutting Board: For safe and efficient chopping.
- Large Bowl: For the steaming/sweating process.
- Clean Kitchen Towel: To cover the bowl and lock in moisture.
Step-by-Step Guide: How to Make Diced Green Chiles at Home
The process of making your own diced green chiles is incredibly straightforward, involving a few simple steps that bring out the best in the peppers.
Prep Your Peppers for Perfection
First things first, cleanliness is key. Thoroughly wash your Anaheim peppers under cool running water to remove any dirt or debris. Once clean, gently dry them completely using a clean kitchen towel or paper towels. Moisture can hinder the roasting process and prevent proper blistering.
Next, carefully remove the stem from each pepper. Then, slice each pepper lengthwise, opening it up. Use a spoon to scoop out the seeds and any pale pith (the white membranes inside). This not only reduces any potential bitterness but also helps to moderate the heat, ensuring a balanced flavor similar to canned versions. Discard the stems, seeds, and pith into your compost.
Line a baking pan with parchment paper. Arrange the halved, de-seeded peppers on the parchment paper, cut-side down. A clever trick to maximize space is to slightly overlap or reverse each pepper as you line them up, allowing you to fit more on a single sheet.
The Roasting Revelation: Building Flavor
Preheat your oven to a hot
450°F (230°C). Roasting is where the magic happens, transforming the raw peppers into tender, flavorful chiles with a beautiful smoky depth.
Place the baking sheet with your peppers into the preheated oven. Roast for approximately
20 minutes. The goal here is to achieve peppers that are slightly blistered and charred in spots, but not completely burned. The blistering indicates that the skin is loosening and the internal sugars are caramelizing, developing a richer flavor. Keep a close eye on them, especially after the 10-minute mark, as oven temperatures can vary and pepper sizes differ. Your "magic time" might range anywhere from 15 to 25 minutes. They should appear slightly softened and have visible dark, blistered patches on their skins.
Once roasted to perfection, carefully remove the peppers from the oven.
The Steaming Secret: Effortless Peeling
Allow the roasted peppers to cool for just a couple of minutes – enough so they are safe to handle but still warm. Transfer the slightly cooled peppers into a large bowl.
Now for the brilliant trick that makes peeling a breeze: immediately cover the bowl tightly with a clean kitchen towel. Let the peppers sit undisturbed for about
15 minutes. This creates a steamy, humid environment within the bowl, causing condensation that loosens the pepper skins. This process effectively "sweats" the peppers, making the skins incredibly easy to peel off, often in large, satisfying strips.
After 15 minutes, uncover the bowl. You'll find the skins have become soft and pliable. Starting from an edge, gently peel the skin away from the flesh of each pepper. For any stubborn bits, a small paring knife can assist, but generally, the skins will come off with minimal effort. Discard the peeled skins.
Dice and Season: The Final Touch
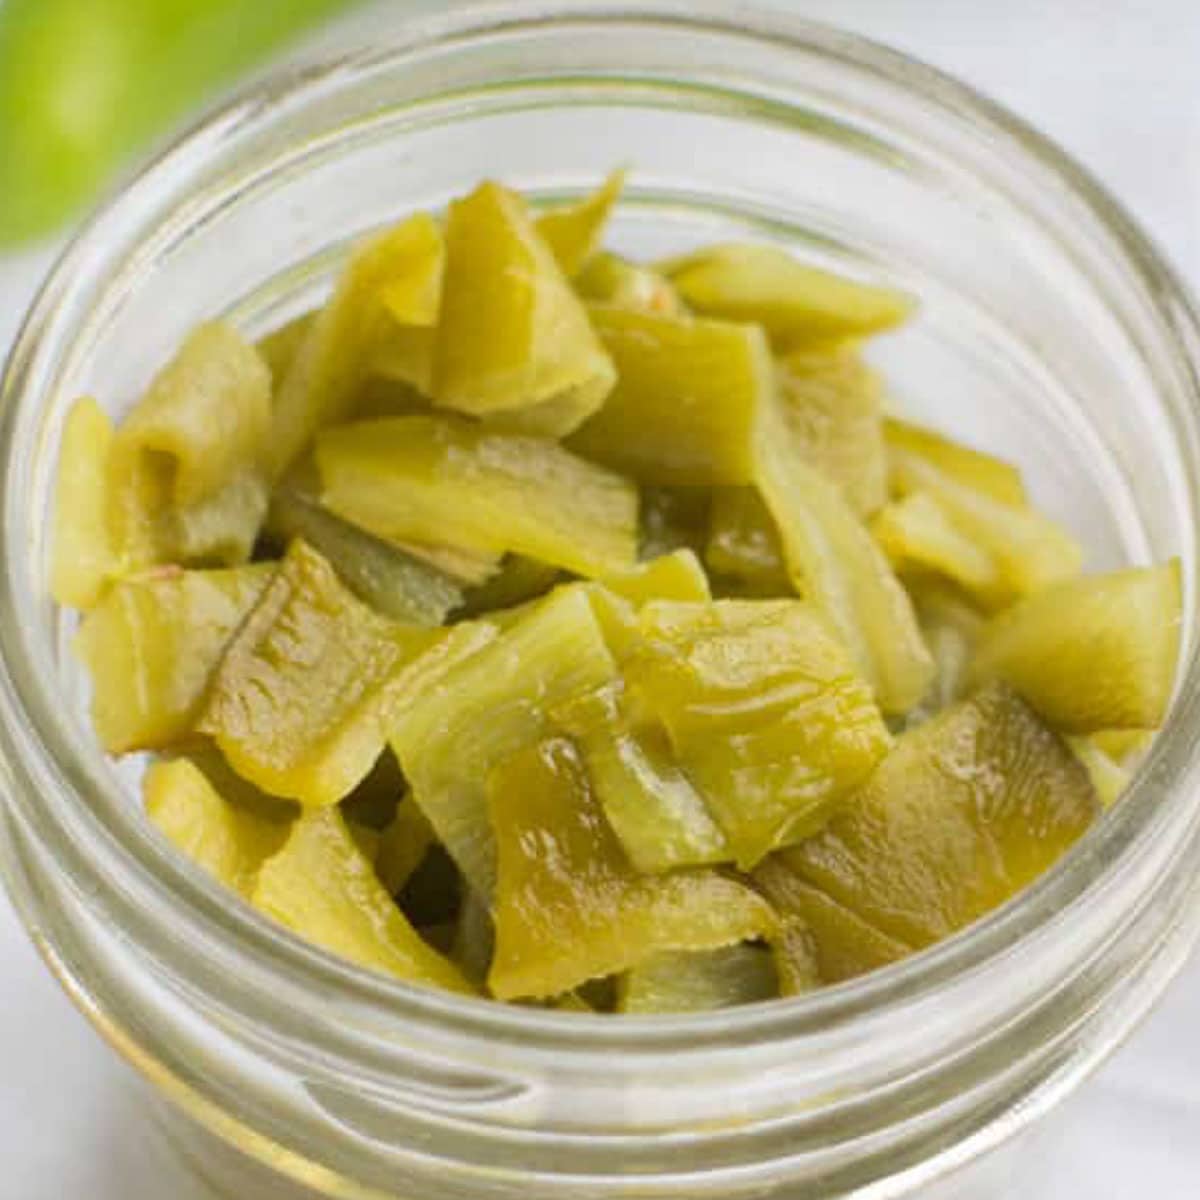
With your peppers peeled and ready, it's time to dice them. Place the skinless pepper halves on your cutting board. First, cut each half into a few skinny strips. Then, rotate the strips and dice them crosswise into small, uniform pieces, about 1/4 to 1/2 inch in size. Aim for consistency to ensure even distribution in your dishes.
And just like that, you have glorious, homemade diced green chiles! For a standard 4 oz batch (equivalent to a small can), add a tiny dash of salt to taste. You don't need any other ingredients – the natural flavor of the roasted peppers truly shines through.
Storage Solutions: Enjoying Your Homemade Chiles All Year
Making a big batch of diced green chiles is highly recommended, as they store beautifully.
Freezing for Freshness
The best way to preserve your homemade diced green chiles is by freezing them. Once diced and lightly salted, portion them into freezer-safe containers, silicone ice cube trays (for easy individual portions), or small freezer bags. Label with the date. Frozen diced green chiles can last for
6-8 months, maintaining their flavor and texture remarkably well. To use, simply add them directly from the freezer to your cooking – no need to thaw!
Refrigerator & Canning Considerations
If you plan to use your diced chiles within a few days, you can store them in an airtight container in the refrigerator for up to
3-5 days.
For long-term pantry storage, traditional water bath canning is also an option, particularly if you're making very large quantities. However, this process requires specific canning equipment and adherence to tested canning recipes for safety. For most home cooks looking for fresh flavor and convenience, freezing is the simplest and most accessible method.
Ready to Elevate Your Dishes?
From that first satisfying tear of a freshly roasted pepper skin to the vibrant aroma of your homemade diced green chiles, you'll wonder why you ever relied on canned versions. This simple, two-ingredient recipe empowers you to bring unparalleled freshness, flavor, and control to your kitchen creations. Whether nestled in a cheesy quesadilla, stirred into a hearty chili, or brightening up a batch of scrambled eggs, your DIY diced green chiles are sure to become a beloved staple. So, next time you spot those beautiful Anaheims, grab a basket, preheat your oven, and get ready to
make diced green chiles that truly sing with flavor!