Homemade Diced Green Chiles: Unlock Authentic Flavor with Our Easy Roast, Peel, Dice Guide
Tired of reaching for those small, often bland, cans of diced green chiles from the grocery store aisle? Imagine infusing your favorite dishes with the vibrant, fresh taste of homemade chiles, perfectly roasted and diced by your own hands. Whether it's for enchiladas, a hearty tortilla soup, sizzling tacos, or comforting casseroles, learning to
make diced green chiles at home is a game-changer. This comprehensive guide will walk you through every simple step, from selecting the right peppers to the final dice, ensuring a superior flavor that store-bought cans simply can't match.
Why Homemade Diced Green Chiles are a Culinary Revelation
For years, many of us have relied on familiar brands like Ortega or Old El Paso for our diced green chile needs. They're convenient, yes, but often lack the depth of flavor and tender texture that fresh, properly prepared peppers offer. The journey to truly appreciate these versatile peppers often begins in the garden, or at least at the farmer's market, where their natural sweetness and mild heat are at their peak.
The difference in taste between homemade and canned is profound. Canned chiles can sometimes carry a slightly metallic or processed undertone, while fresh chiles, expertly roasted, offer a smoky, earthy essence that elevates any dish. When you
make diced green chiles yourself, you control the quality, the roast level, and even the touch of seasoning, ensuring every bite is exactly how you want it. This simple, two-ingredient process (peppers and a pinch of salt!) quickly becomes a beloved kitchen ritual for anyone seeking to inject genuine flavor into their cooking.
Selecting the Perfect Peppers: Anaheim and Beyond
The key to outstanding homemade diced green chiles lies in choosing the right pepper variety. For a flavor profile closely resembling the mild chopped green chiles found in most grocery stores, the
Anaheim pepper is your ideal candidate. These peppers typically range from 500 to 2,500 Scoville Heat Units (SHU), offering a gentle warmth that complements rather than overpowers. Many home gardeners swear by the "Highlander" variety of Anaheim for its exceptional productivity, often yielding an abundance of peppers from just a couple of plants. Imagine having a dedicated drawer in your refrigerator brimming with fresh, homegrown chiles!
While Anaheim peppers are the classic choice, don't hesitate to experiment if you're looking for a slightly different character:
- Poblano Peppers: With a Scoville range of 1,000 to 2,000 SHU, Poblanos offer a similar mild heat but bring a richer, earthier, and slightly less sweet flavor. They're excellent for a deeper, more robust chile experience.
- Pepperoncini Peppers: While not traditionally used for diced green chiles, these extremely mild peppers (100-500 SHU) can be a fun alternative if you desire a very gentle tang and almost no heat.
Regardless of your chosen variety, selecting firm, unblemished peppers is crucial for the best results.
Step-by-Step Guide to Roast, Peel, and Dice Green Chiles
Ready to transform those fresh peppers into culinary gold? This method is straightforward and highly rewarding.
1. Prepare Your Peppers
- Wash and Dry: Thoroughly wash your peppers under cool running water and dry them completely. Any moisture can hinder proper roasting.
- Stem, Halve, and Deseed: Carefully cut off the stem from each pepper. Then, slice each pepper in half lengthwise. Using a spoon or your fingers, scoop out the "guts" (the white membranes) and all the seeds. Discard these in your compost.
2. Roasting for Flavor
- Prepare Baking Sheet: Line a large baking sheet with parchment paper. This prevents sticking and makes cleanup a breeze.
- Arrange Peppers: Place the pepper halves skin-side up on the parchment paper. To maximize space, try reversing the direction of alternate halves when lining them up – this clever trick allows you to fit more peppers on a single sheet.
- Roast: Preheat your oven to 450°F (230°C). Roast the peppers for approximately 15-25 minutes. The "magic time" for many is around 20 minutes, but keep a close eye on them from the 10-minute mark. You're looking for the skins to be slightly blistered and charred in spots, but not completely burned. This blistering is what will make them easy to peel.
3. The Easy Peel Trick
- Cool Slightly: Once roasted, remove the peppers from the oven. Let them cool on the baking sheet for just 2-3 minutes, until they're cool enough to handle.
- Steam and Soften: Transfer the warm peppers into a bowl. Immediately cover the bowl tightly with a clean kitchen towel or plastic wrap. Let them sit for about 15 minutes. This steaming process traps the moisture and heat, effectively loosening the skins so they practically slide right off.
- Peel with Ease: Uncover the bowl. You'll be amazed at how easily the skins now peel away! Gently pull the skins off each pepper half. Don't worry if a tiny bit of char remains; it adds to the smoky flavor.
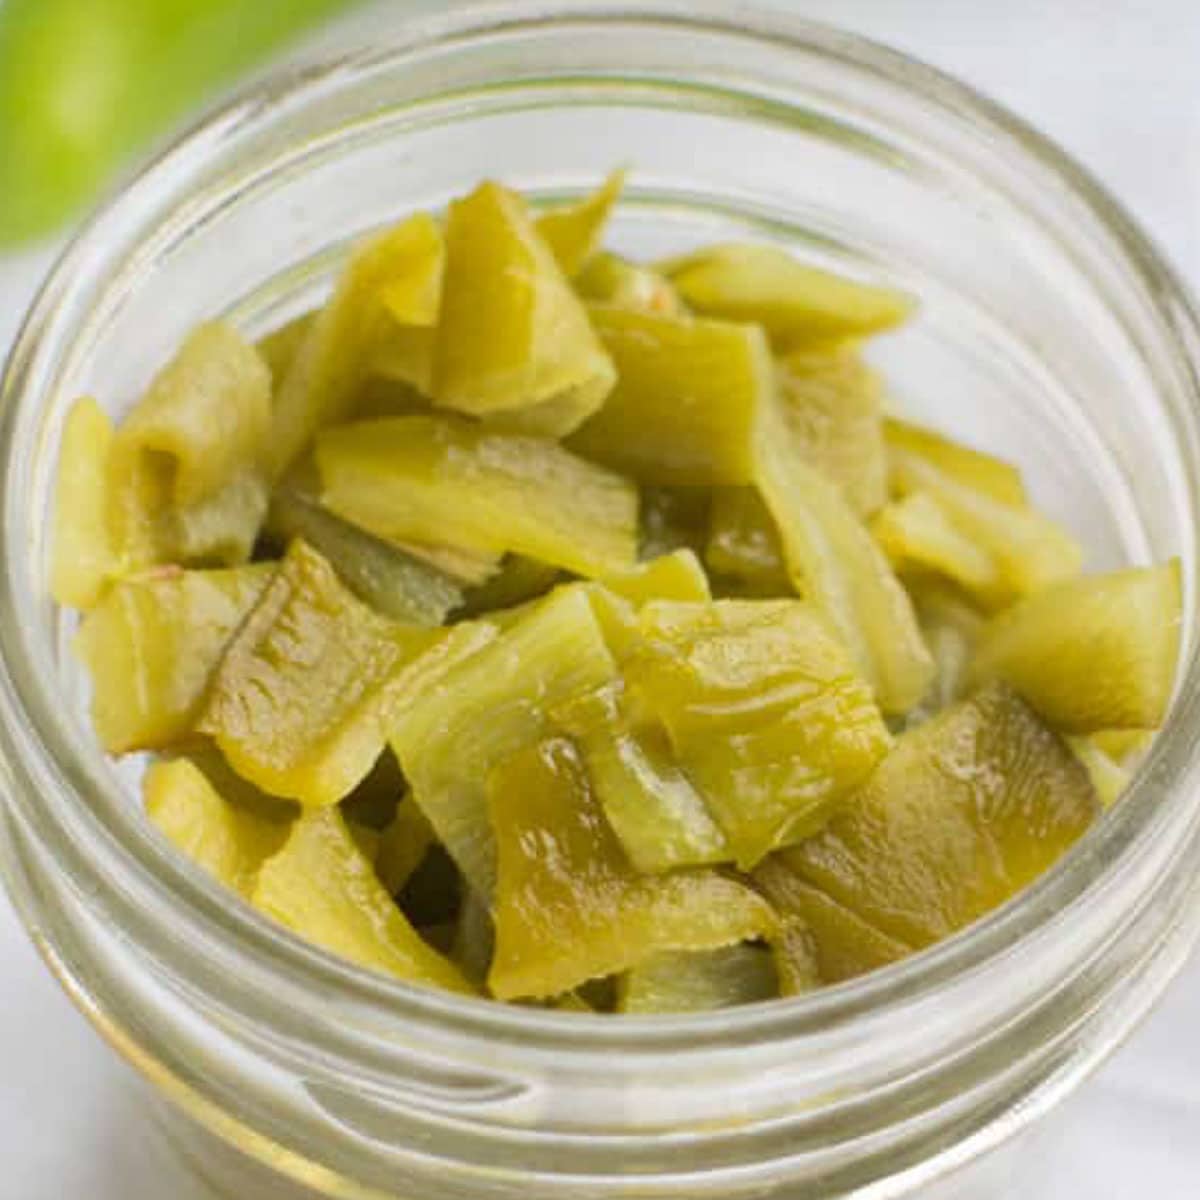
4. The Final Dice
- Slice: Take each peeled pepper half and cut it lengthwise into a few skinny strips.
- Dice: Gather the strips and then dice them across into small, uniform pieces. Aim for a size similar to what you'd find in a can.
- Season: For every roughly 4 oz batch (the equivalent of one small can, which typically requires 4-5 Anaheim peppers), add a tiny dash of salt. That's it! No other ingredients are needed to enhance their natural flavor.
Storing Your Homemade Diced Green Chiles for Future Feasts
One of the greatest advantages of preparing your own diced green chiles is the ability to batch cook and store them for later use. This ensures you always have fresh, flavorful chiles on hand without the need for frequent roasting.
A good rule of thumb is that about 4-5 Anaheim peppers will yield roughly 4 ounces of diced chiles, which is the standard size of a small store-bought can. This makes it easy to portion.
The best method for long-term storage is freezing:
- Portioning: Divide your freshly diced chiles into small, freezer-safe containers, or even ice cube trays (for smaller, easily accessible portions). Once frozen in trays, you can pop them out and transfer them to a larger freezer bag to save space.
- Packaging: Ensure they are in airtight containers or freezer bags to prevent freezer burn. Label with the date.
- Shelf Life: Properly frozen diced green chiles will maintain their quality for up to 6-8 months, making them a fantastic freezer staple.
Having a ready supply of your own homemade diced green chiles means you can spontaneously whip up your favorite Southwestern or Mexican-inspired dishes anytime, confident in the fresh, superior taste you're adding.
Conclusion: Elevate Your Culinary Creations with Homemade Goodness
Gone are the days of settling for less. Learning to
make diced green chiles is an easy, satisfying kitchen project that yields incredible dividends in flavor. From the sweet, mild heat of Anaheims to the satisfying process of roasting and peeling, every step contributes to a product far superior to anything you'll find on a store shelf. So, gather your peppers, fire up your oven, and prepare to elevate your cooking with the unmatched taste of fresh, homemade diced green chiles. Your taste buds—and your family—will thank you.